Everything came together finally - we had nice weather, low humidity, and both myself and the boyfriend were home so he could help me with pictures. The dress itself has been finished for a few weeks, but this was the first time I was able to get around to photographing it.
So first, my prior posts on how everything went together.
Part 1
Part 2
Part 3
And the finished dress!
A journal of costume and fashion makings, entertainment, musings, and any other fun tidbits and whatnots of fancy.
Showing posts with label Crinoline Period. Show all posts
Sunday, June 7, 2015
Friday, May 22, 2015
Cartridge Pleating for the Sheer Stripe Dress
I've finished off the last few touches on my bodice and one of these led me to make a few changes on my finished dress. When I attached my waistband to the bodice, it did this weird thing and shrunk about 2 inches (?). As a result, I wasn't going to be able to attach the skirt portion of the dress directly to the bodice because none of the edges lined up the way they were supposed to. On to plan B.
In the instructions for the dress (TV447), Heather does provide alternate instructions for creating the skirt and bodice as separate pieces. So I got everything cut and sewed according to the instructions, and then stood back and looked at the amount of fabric I would be working with.
At 60" wide with 4 panels to work with, I found I would have to somehow attach 20 feet of material to about 34 inches of waistband.
In the instructions for the dress (TV447), Heather does provide alternate instructions for creating the skirt and bodice as separate pieces. So I got everything cut and sewed according to the instructions, and then stood back and looked at the amount of fabric I would be working with.
Yeah, that's a lot of fabric! |
Wednesday, April 1, 2015
Bodice Bustin for the 1863 Dress
Well things are progressing nicely with my sheer dress. While I have been taking my time with it to make sure fittings are going well, I'm also making sure to correct a few areas where my last dress was rushed.
For the collar, I had just cut a bias strip and sewed it in. Yeah, it looks poorly planned and executed as a result. This time, I decided to draft out a collar using the existing pattern pieces.
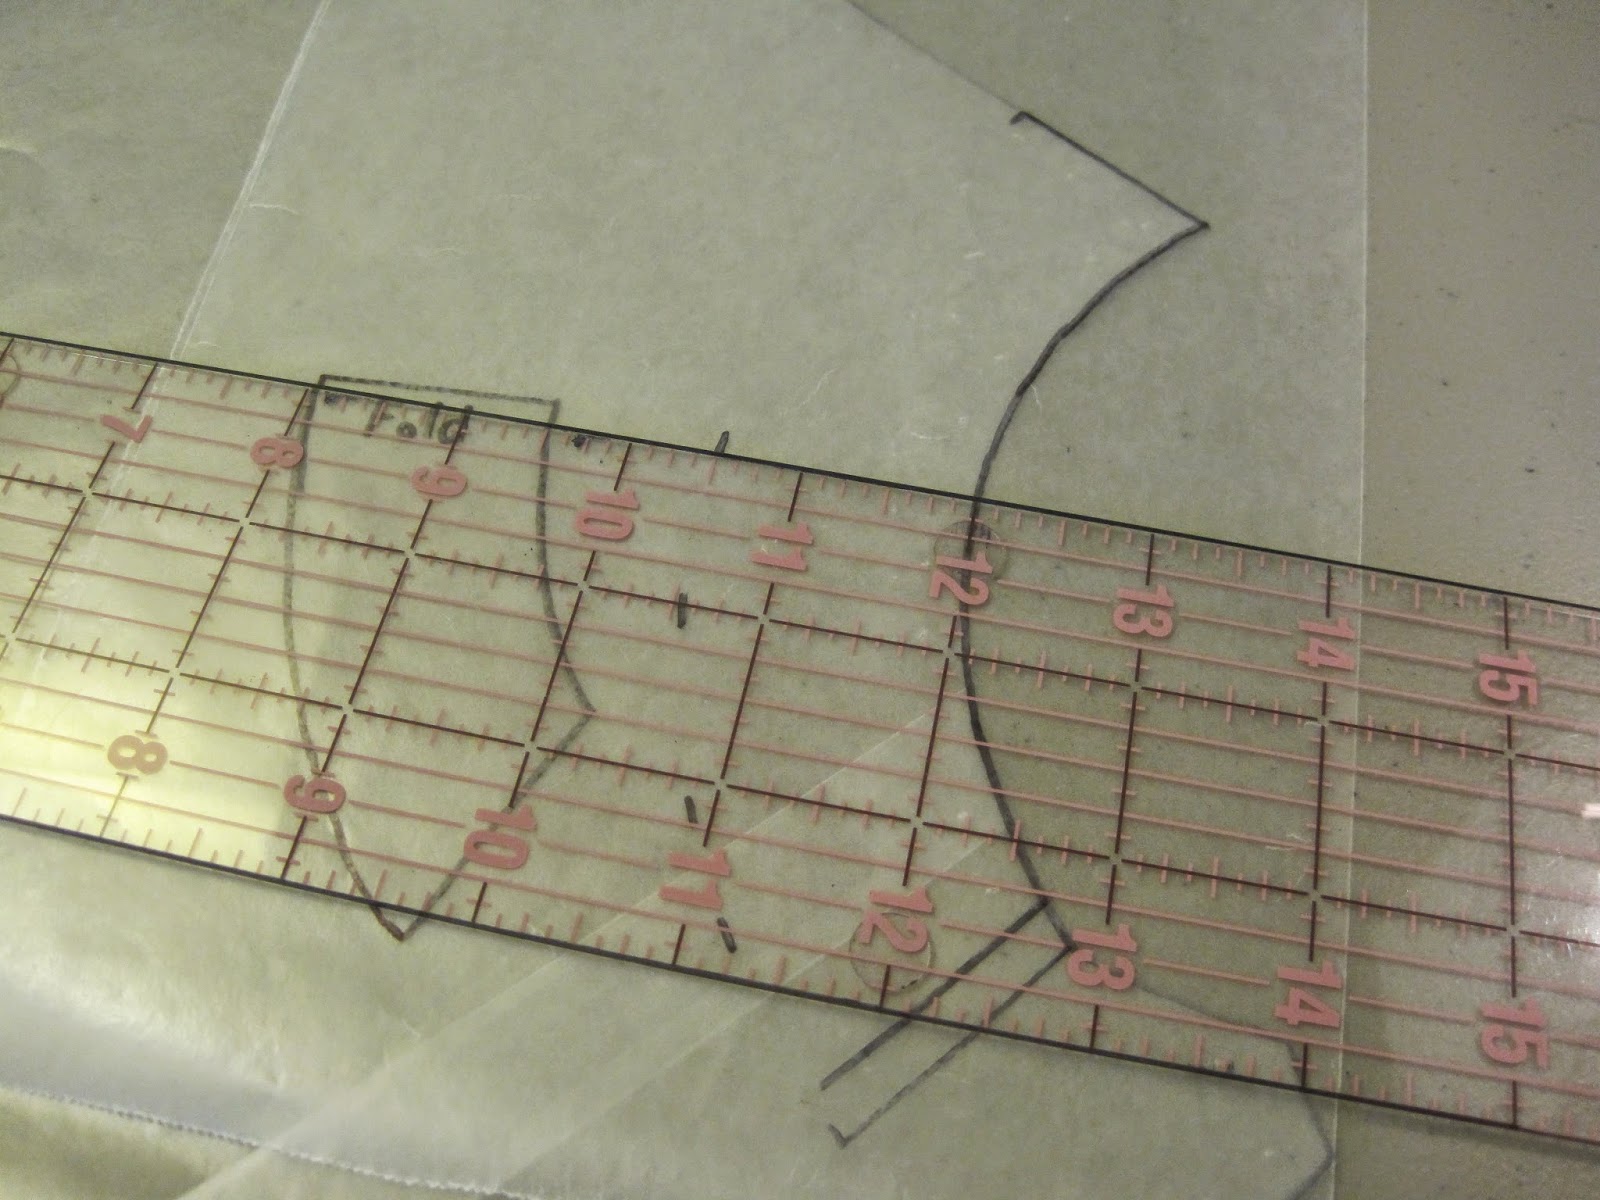
Drafting a collar off the original pattern |
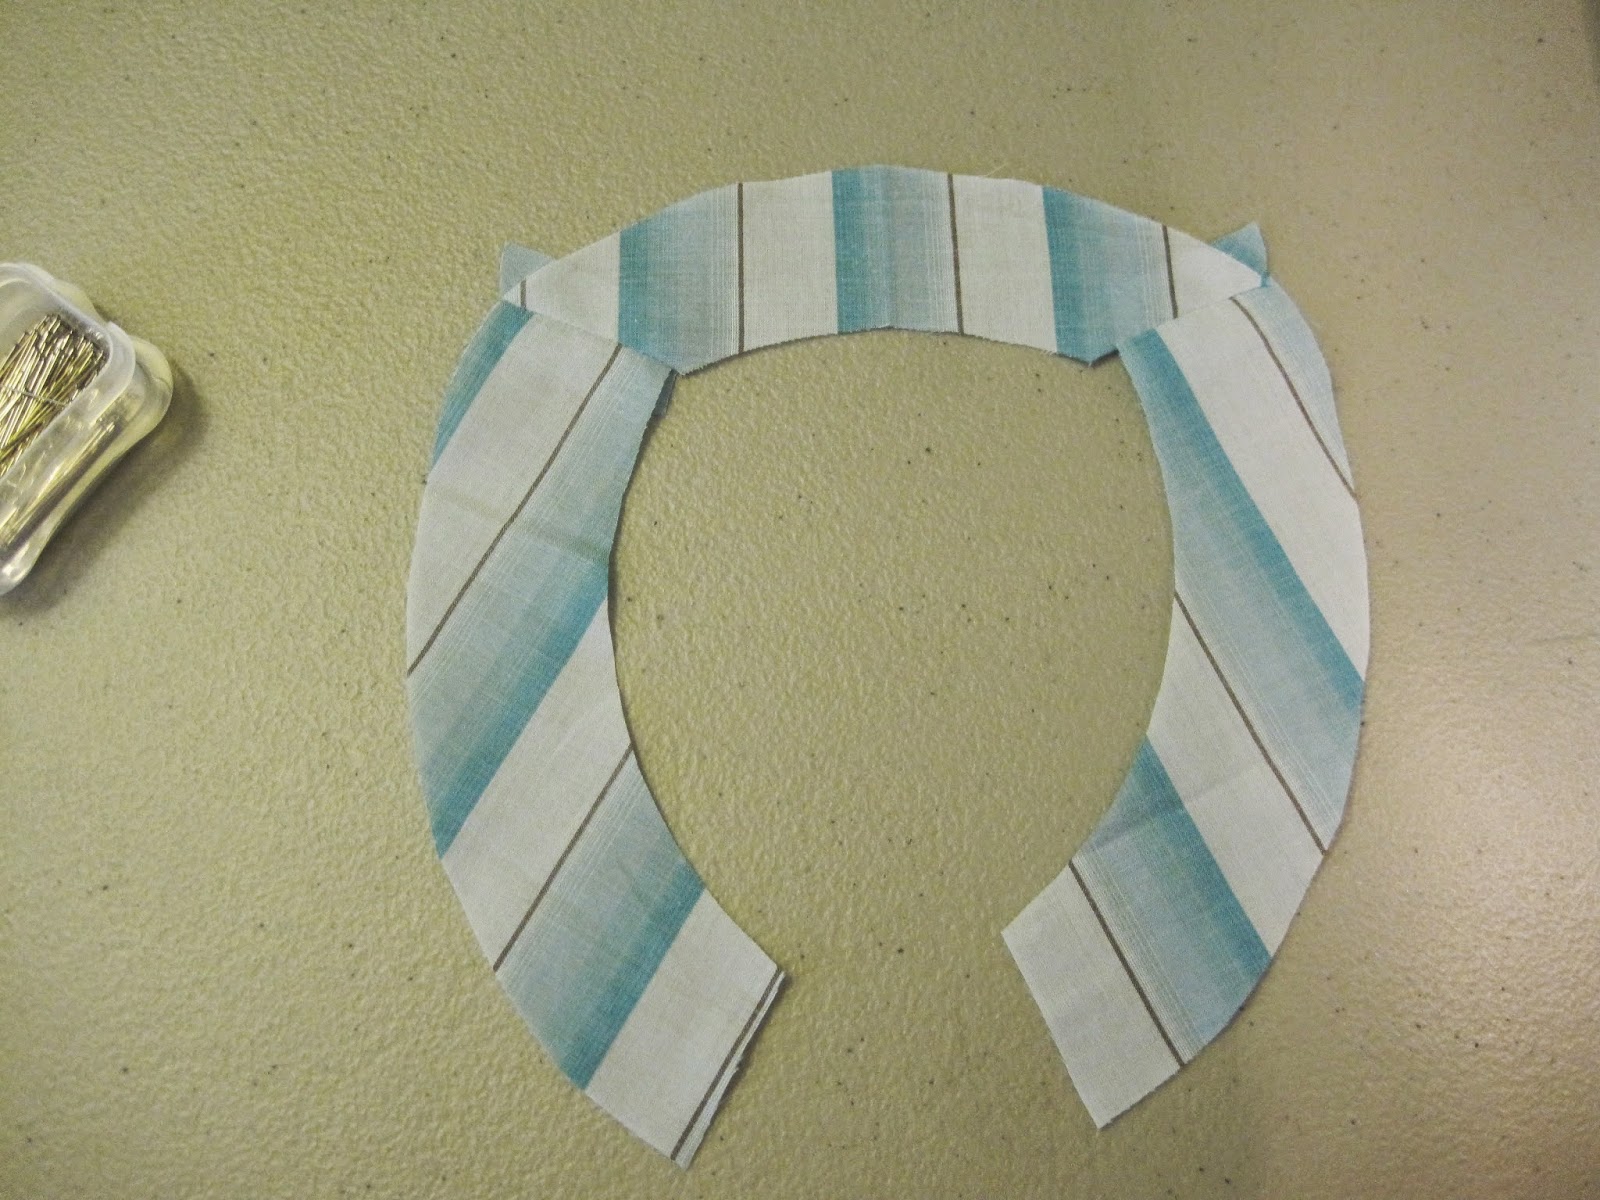
Final collar to line the inside |
Cutting it to match the neckline definitely makes things lay flatter and it covers the fabric and piping edges.
Monday, March 23, 2015
New Sheer Civil War Dress
So for my second sewing project of the year, I have decided to redo the early 1860s dress I wear for Civil War events. My blue bud calico dress was made back in 2012 for a tea event at the local historical society. When I had put it together, I used a quilting calico which makes for a cool dress even during the summer (yay for cotton!) but the dress itself is very heavy because it's a quilting fabric. In addition, this was one of the last dresses I made before I started fanagaling fitting techniques so the bodice is a little big on me.
Denver Fabrics was holding a sale at the beginning of the year and while had I told myself I would NOT buy any more fabric this year, I caved when I found a pretty blue and brown striped cotton lawn. It is definitely much lighter than the quilting calico.
Subscribe to:
Posts (Atom)