I had the weekend off so I put together a quick little project. I had bought Butterick's historical handbags 1890-1910 pattern (B4411) at some point and pulled it out last week to see about doing one of the bags (This pattern is now out of print, but can still be found on etsy and ebay). I opted for B because after looking through the instructions, I figured it would be the easiest to get done over the weekend.
Using the last of my Christmas gift card stash, I picked up some supplies (shame on me for not using the stash). I opted for a brown shot teal silk for the exterior of the bag, and a gold poly satin for the lining. Ribbon and trim that I selected matched the satin.
After cutting everything out, I found that the directions were probably the hardest thing to work with. According to the supply list, I needed interfacing for only one of the fabrics. According to the directions, I was supposed to apply interfacing to both the lining and contrast facing.
Erm, yeah about that.
Instead, I just did the lining because I REALLY did not want to apply interfacing to the silk and kill its natural crinkle. The lining actually turned out really nice with the interfacing. Not only did it stiffen up the satin and make it easier to work with, but it gave the fabric an almost foil leaf appearance.
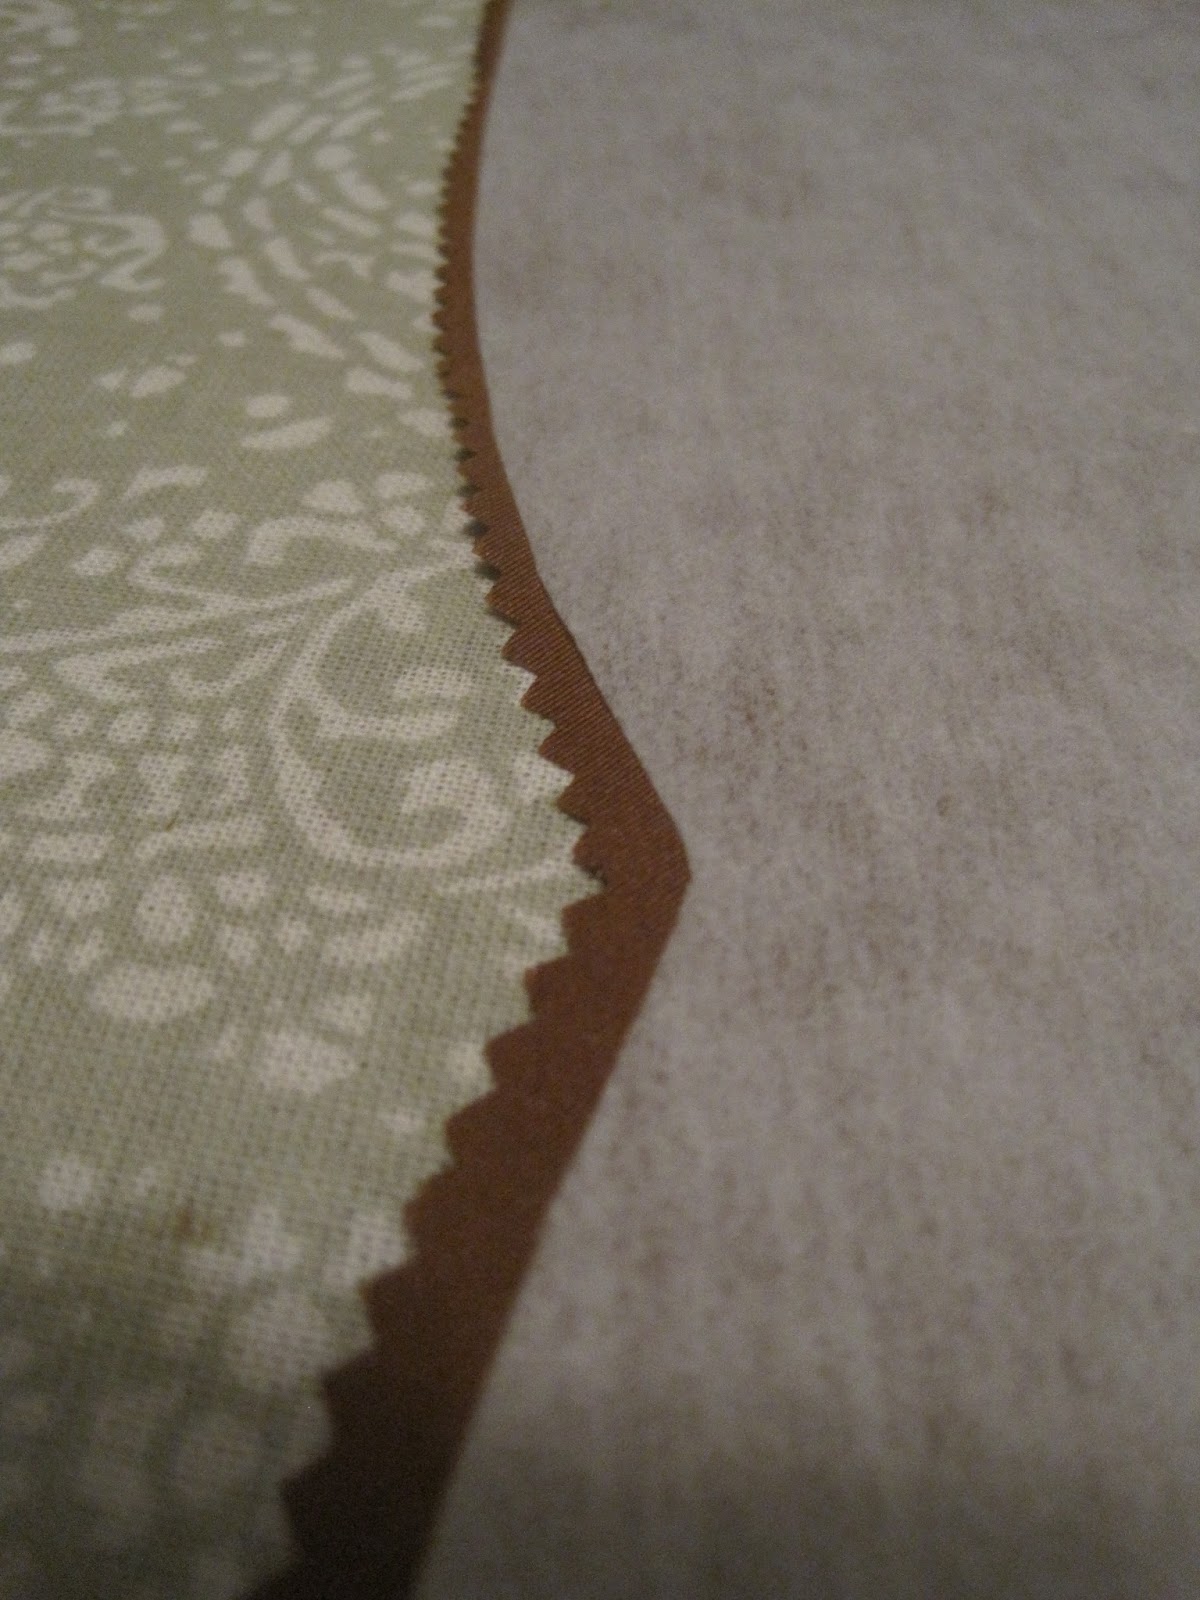
Another thing I have recently found that works really well when working with silks and satins is pinking the edges. Later, I ended up cutting the pinked edges off to even everything, but it kept everything from raveling too bad while doing my hand work.
The original directions also called for the trim to be attached after everything is sewn together. I went a different route and sewed my trim on BEFORE putting the lining and contrast together. Because of the beads on the trim, I had to use a zipper foot to attach it.
Because of the bulk from the trim, I hand sewed the contrast to the lining, just on the other side of the seam from where the trim was attached. I had pondered using the sewing machine, but even with the zipper foot, I couldn't get any closer to the edge (sorry, forgot to grab a photo of this change) so I just used a tight running stitch to keep everything together.
Of course the real test was when I turned it right side out. Thankfully everything held and all I had to do was stitch close the opening. The time consuming part ended up being pressing all the edges. Thanks to the trim, it all was hand pressed.
The last thing to do was sew in the ribbon channels and then insert the ribbon. Overall, I was loving the color combo at this point!
And voila! All finished! One thing I will note though, use a lightweight interfacing for the lining. Mine bulked the fabric up a bit and makes it a little hard to pull the ribbons closed. The overall effect with the gold ribbon makes it look really nice though!
And of course I had to show it off in my own unique style.
* * *
Pattern - Butterick Making History: Handbags circa 1890-1910 (B4411)
Fabric - Contrast is brown shot teal dupioni silk, lining from gold poly satin, fusible interfacing
Notions - Pre-made beaded trim, sheer ribbon, matching poly thread


No comments:
Post a Comment