Another year, another birthday, and another addition to Lexie's history wardrobe. Currently she has a calico dress, apron and bonnet, and some underthings. In the spirit of making a complete set of proper undergarments, I pulled Butterick B5901 back out to start working on the hoop skirt.
Everything went together well enough by following the directions. I made one alteration to the waistband - instead of fitted, it has a drawstring ribbon so that it is more adjustable. Easy enough to do with 1" grosgrain ribbon. I even got to do some stash busting as well.
This gathered trim came from a petticoat (My very first, horribly made one) that I tore apart a couple years ago. There just enough for the hem and it was a great way to re-purpose some materials that I had.
The real trouble I ran into was when I went to start boning the channels in the hoop skirt. Due to the great Hoop Bone Shortage*, I had to find an alternative method for boning the crinoline. My answer came in the form of oversize zip-ties and plastic tubing.
*For anyone who doesn't already know, the company that makes hoop boning went out of business a while ago and I looks like they won't ever manufacture the product again :(
I've used oversize zip-ties (They are 3/8" X 24") for other projects, specifically for when I have a channel to support, but don't feel I need to use a metal bone for it. The original pattern wanted to use the plastic boning that comes covered in fabric and you just remove the fabric. Personally, I don't think this kind of boning provides the needed support that crinoline cages/bustles require (Again, personal opinion).
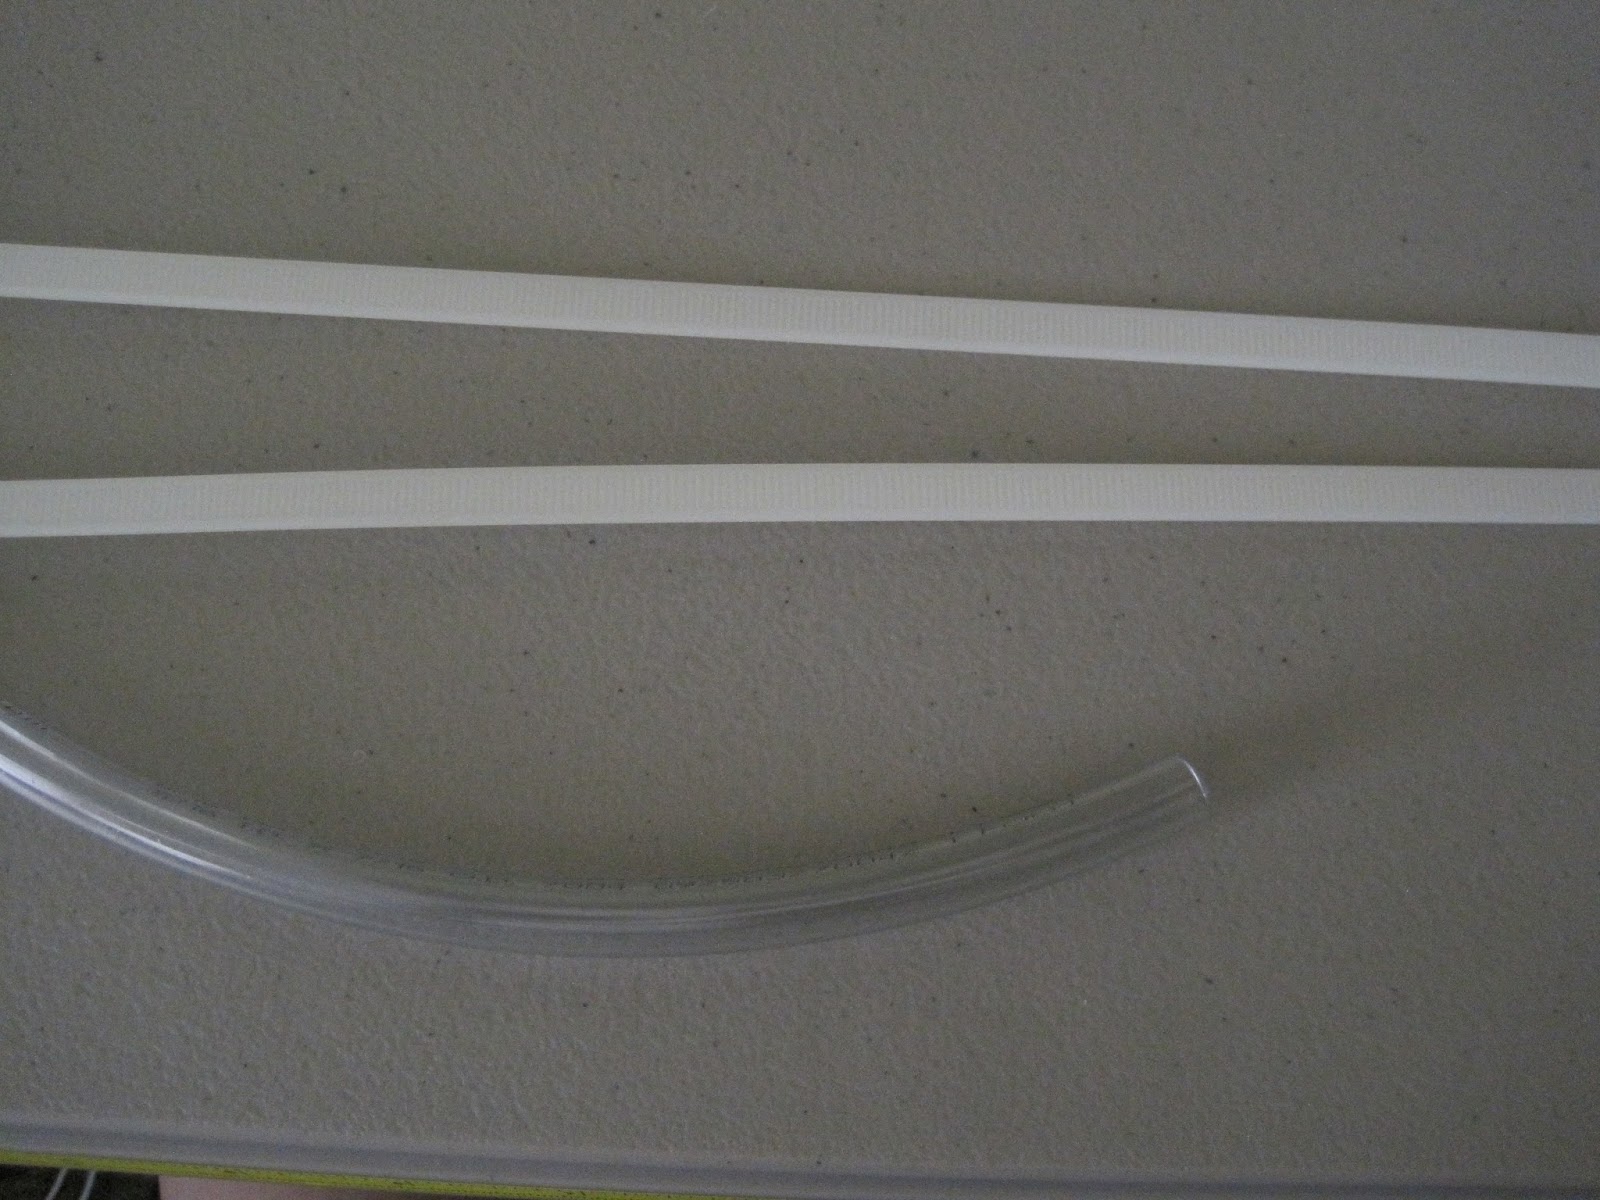
I trimmed the ends of the zip-ties down and smoothed them so they wouldn't catch on the fabric in the channels. The plastic tubing is just large enough to fit the width of the zip-ties snugly so they don't move around. This was cut down to 1" pieces and the zip-ties slid through to overlap one another.
 |
| Side view |
 |
| Top view |
The next bit of fun was boning the channels. The directions call for cutting "a section of boning the same length of the channels." Um, yeah...
I ended up using about 3 1/2 of the zip-ties with overlapping sections to make each of the hoops. Now had I left the hoop skirt per the directions, it would have looked like this.
Whoa boy, horrible lampshade hoop! Because the hoop bones aren't "fixed" I set to work adjusting them by sliding certain sections further through the tubes, creating a larger overlap. The end result was this.
Oh so much better! Everything is more conical so any petticoats and dresses will lay overtop of the hoop more smoothly.
Lots of fun and I understand Lexie loved it!
* * *
Pattern: Butterick B5901 Girl's drawers, underskirt, and hoop skirt
Modifications: Alternative boning method, fitted waistband converted to gathered band
Fabric: cotton/poly blend
Notions: 1" grosgrain ribbon, 3" eyelet trim, 24" zip-ties, plastic tubing


What a genius that husband of yours is!! I have boning for an elliptical cage and another first bustle bustle, and that's about it, so the zip ties and tubing will come in handy!! Huzzah for Lexie getting a new pretty!!!
ReplyDeleteBlessings!
g
I have to admit the credit goes to my dad. Thanks to him, I know my way around the hardware store and I'm pretty handy when it comes to the tool kit. Thanks dad!
Delete