Sunday, September 27, 2015

The Regency Dress that Almost Wasn't

My latest project, the drop front Regency dress, is going along at a remarkable pace. At this point, I'm just doing finishing touches like binding the seam allowance in the arms, placing buttons, and hemming the bottom. I love the fabric choice and the style I opted for, but first I have to tell you about how this dress almost didn't come to be.

Back in 2014, I found my fabric and knew it would make a great Regency dress. I grabbed 5 yards at the time, figuring it would be enough. I had recently completed another Regency dress and was going to use the same pattern from Sense and Sensibility. Then Laughing Moon came out with their drop front dress pattern and I fell in love with it. 
Laughing Moon #126
I loved this view with the ruffles on the arms and it looked like the design would work well with the print of my fabric. The other reason is because View B is based off an original held by the Kent State University Museum, the same museum where I interned at while doing my graduate coursework. When I saw a picture of the original, I'm pretty certain I saw this dress while going through storage for class materials. The original is from 1810 and made of printed cotton.
1983.1.28 KSU Museum
Additional photos of the original dress are on my Pinterest board

Then I looked at the fabric requirements. View B needed 5 and 5/8 yards. Uh oh. So everything went to the back burner until March this year. I had gone to California and while perusing the fabric store, I found a bolt of the same fabric on clearance. It was 3/4 of a yard exactly. Hoorah! Project back on track!

So the problem I quickly encountered is that when your fabric is cut into two pieces, it makes laying out pattern pieces a little more challenging. Challenging to the point where I had to pin and lay everything out BEFORE I even cut my fabric.

For the record, skirt pieces for Regency dresses are HUGE!
Pretty much all the bodice and strip pieces were cut from the small piece. The larger sections for the back, front, sleeves, and sleeve tops were a little more problematic however. To start, the fabric width came up about 2" short for the back pieces. That was an easy piece with careful pleating adjustment. When I laid everything out though, it looked like I would have to adjust the sleeve poufs. Then the sewing gods decided to be nice and I ended up with JUST enough fabric to cut my sleeves without adjustment.

Hoorah! Hoorah!
Remaining fabric after cutting the final pattern pieces
Then I found I had one piece left to cut - the back ties. And all I had left were scraps. Using a long length leftover from when I cut the front dress panel, I actually measured out how big the tie pieces would be folded in half after cutting away selvage. I then redid the pieces so they were the bare minimum width with a 1/4" seam and used part of the printed selvage that wouldn't show. I had to piece together the second tie, but everything miraculously came together and the ties turned out perfectly.

Hoorah! Hoorah! And hoorah a third time
Ties with selvage and piece work
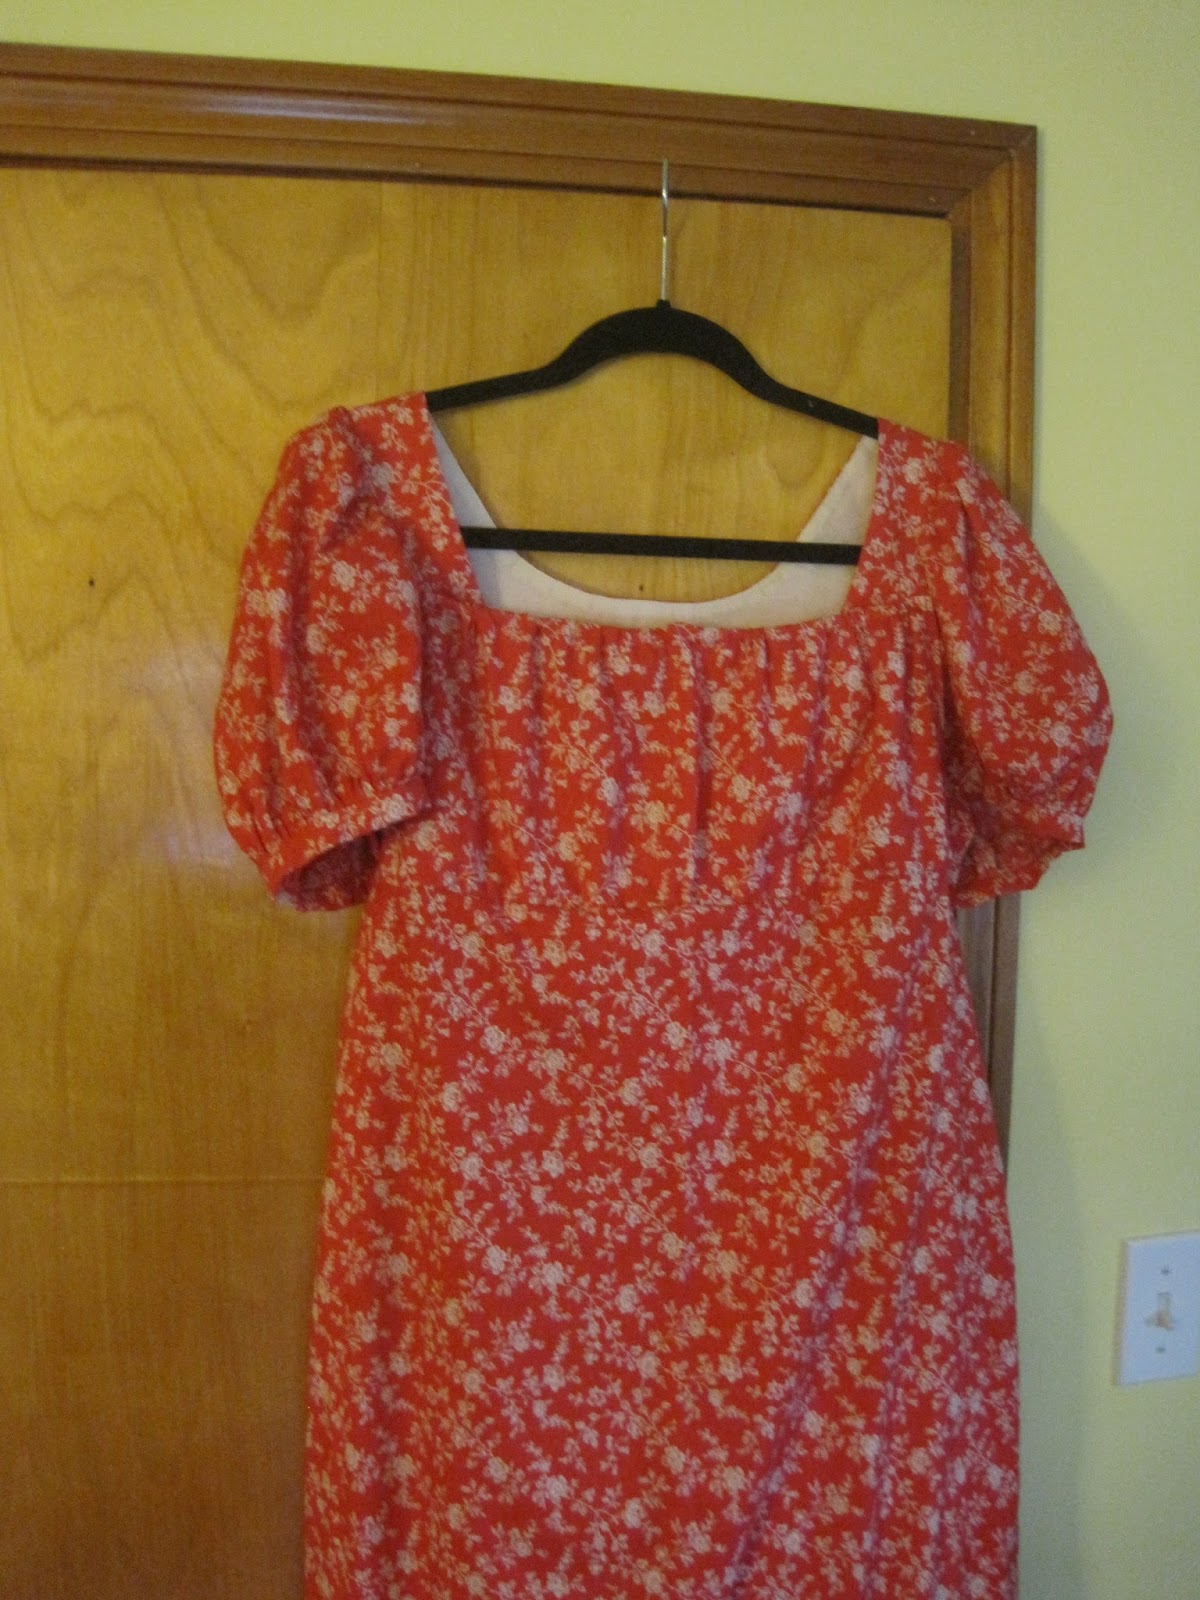
And this is where the dress stands!
Dress front
Dress back
I want to get everything finished soon so I can hopefully photograph it before the Northeast Ohio fall weather sets in.

2 comments:

  1. Lovely dress! The back gathers look so neat and tidy!

    ReplyDelete
  2. The Laughing Moon pattern is great because it gives you a pleating guide to follow! For someone like me who is extremely math challenged, it's nice to have!

    ReplyDelete